Moving into a new warehouse is a major milestone for any growing business. Whether you’re launching a startup, expanding your e-commerce operation, upgrading your contractor workspace, or relocating your growing small business, a well-organized transition sets the tone for long-term success. From electricians and plumbers storing tools and materials, to online retailers managing inventory and shipping, to landscapers, auto detailers, and construction teams needing space for equipment and vehicles, the right workspace can transform how efficiently you operate.
At WorkBay, we’ve seen firsthand how proper preparation transforms move-in day from stressful to seamless. That’s why we’ve created this comprehensive warehouse move-in checklist to help you get operational quickly, efficiently, and confidently.
Relocating or opening a warehouse involves more than transporting boxes. Without a structured plan, businesses risk:
- Operational downtime
- Inventory misplacement
- Workflow inefficiencies
- Compliance oversights
- Unexpected expenses
A strategic warehouse move-in checklist ensures your WorkBay unit is set up for productivity from day one.
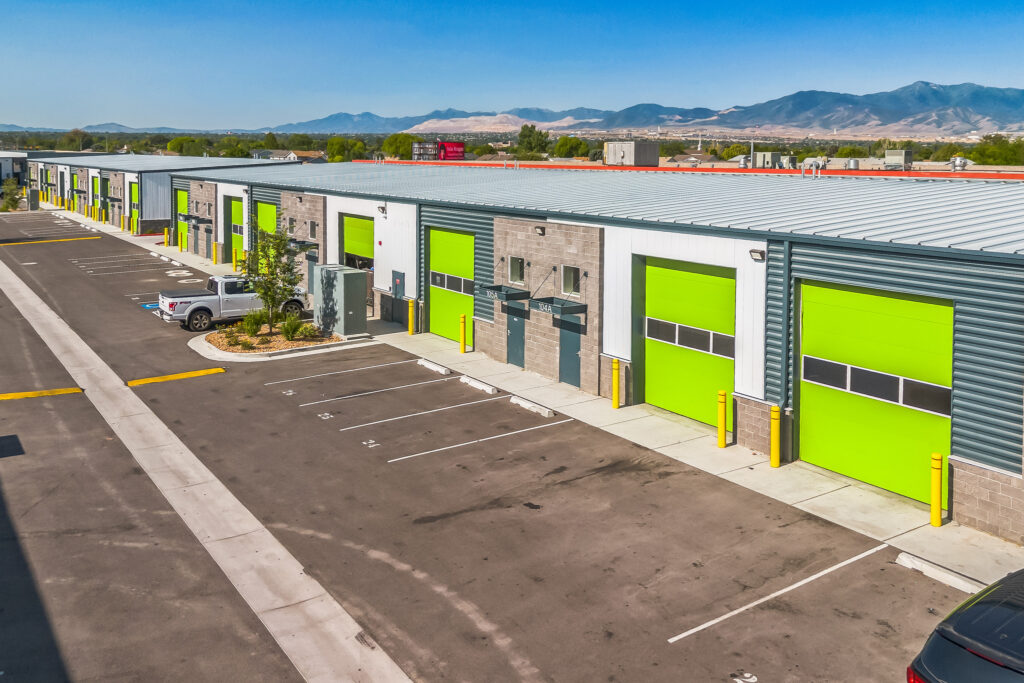
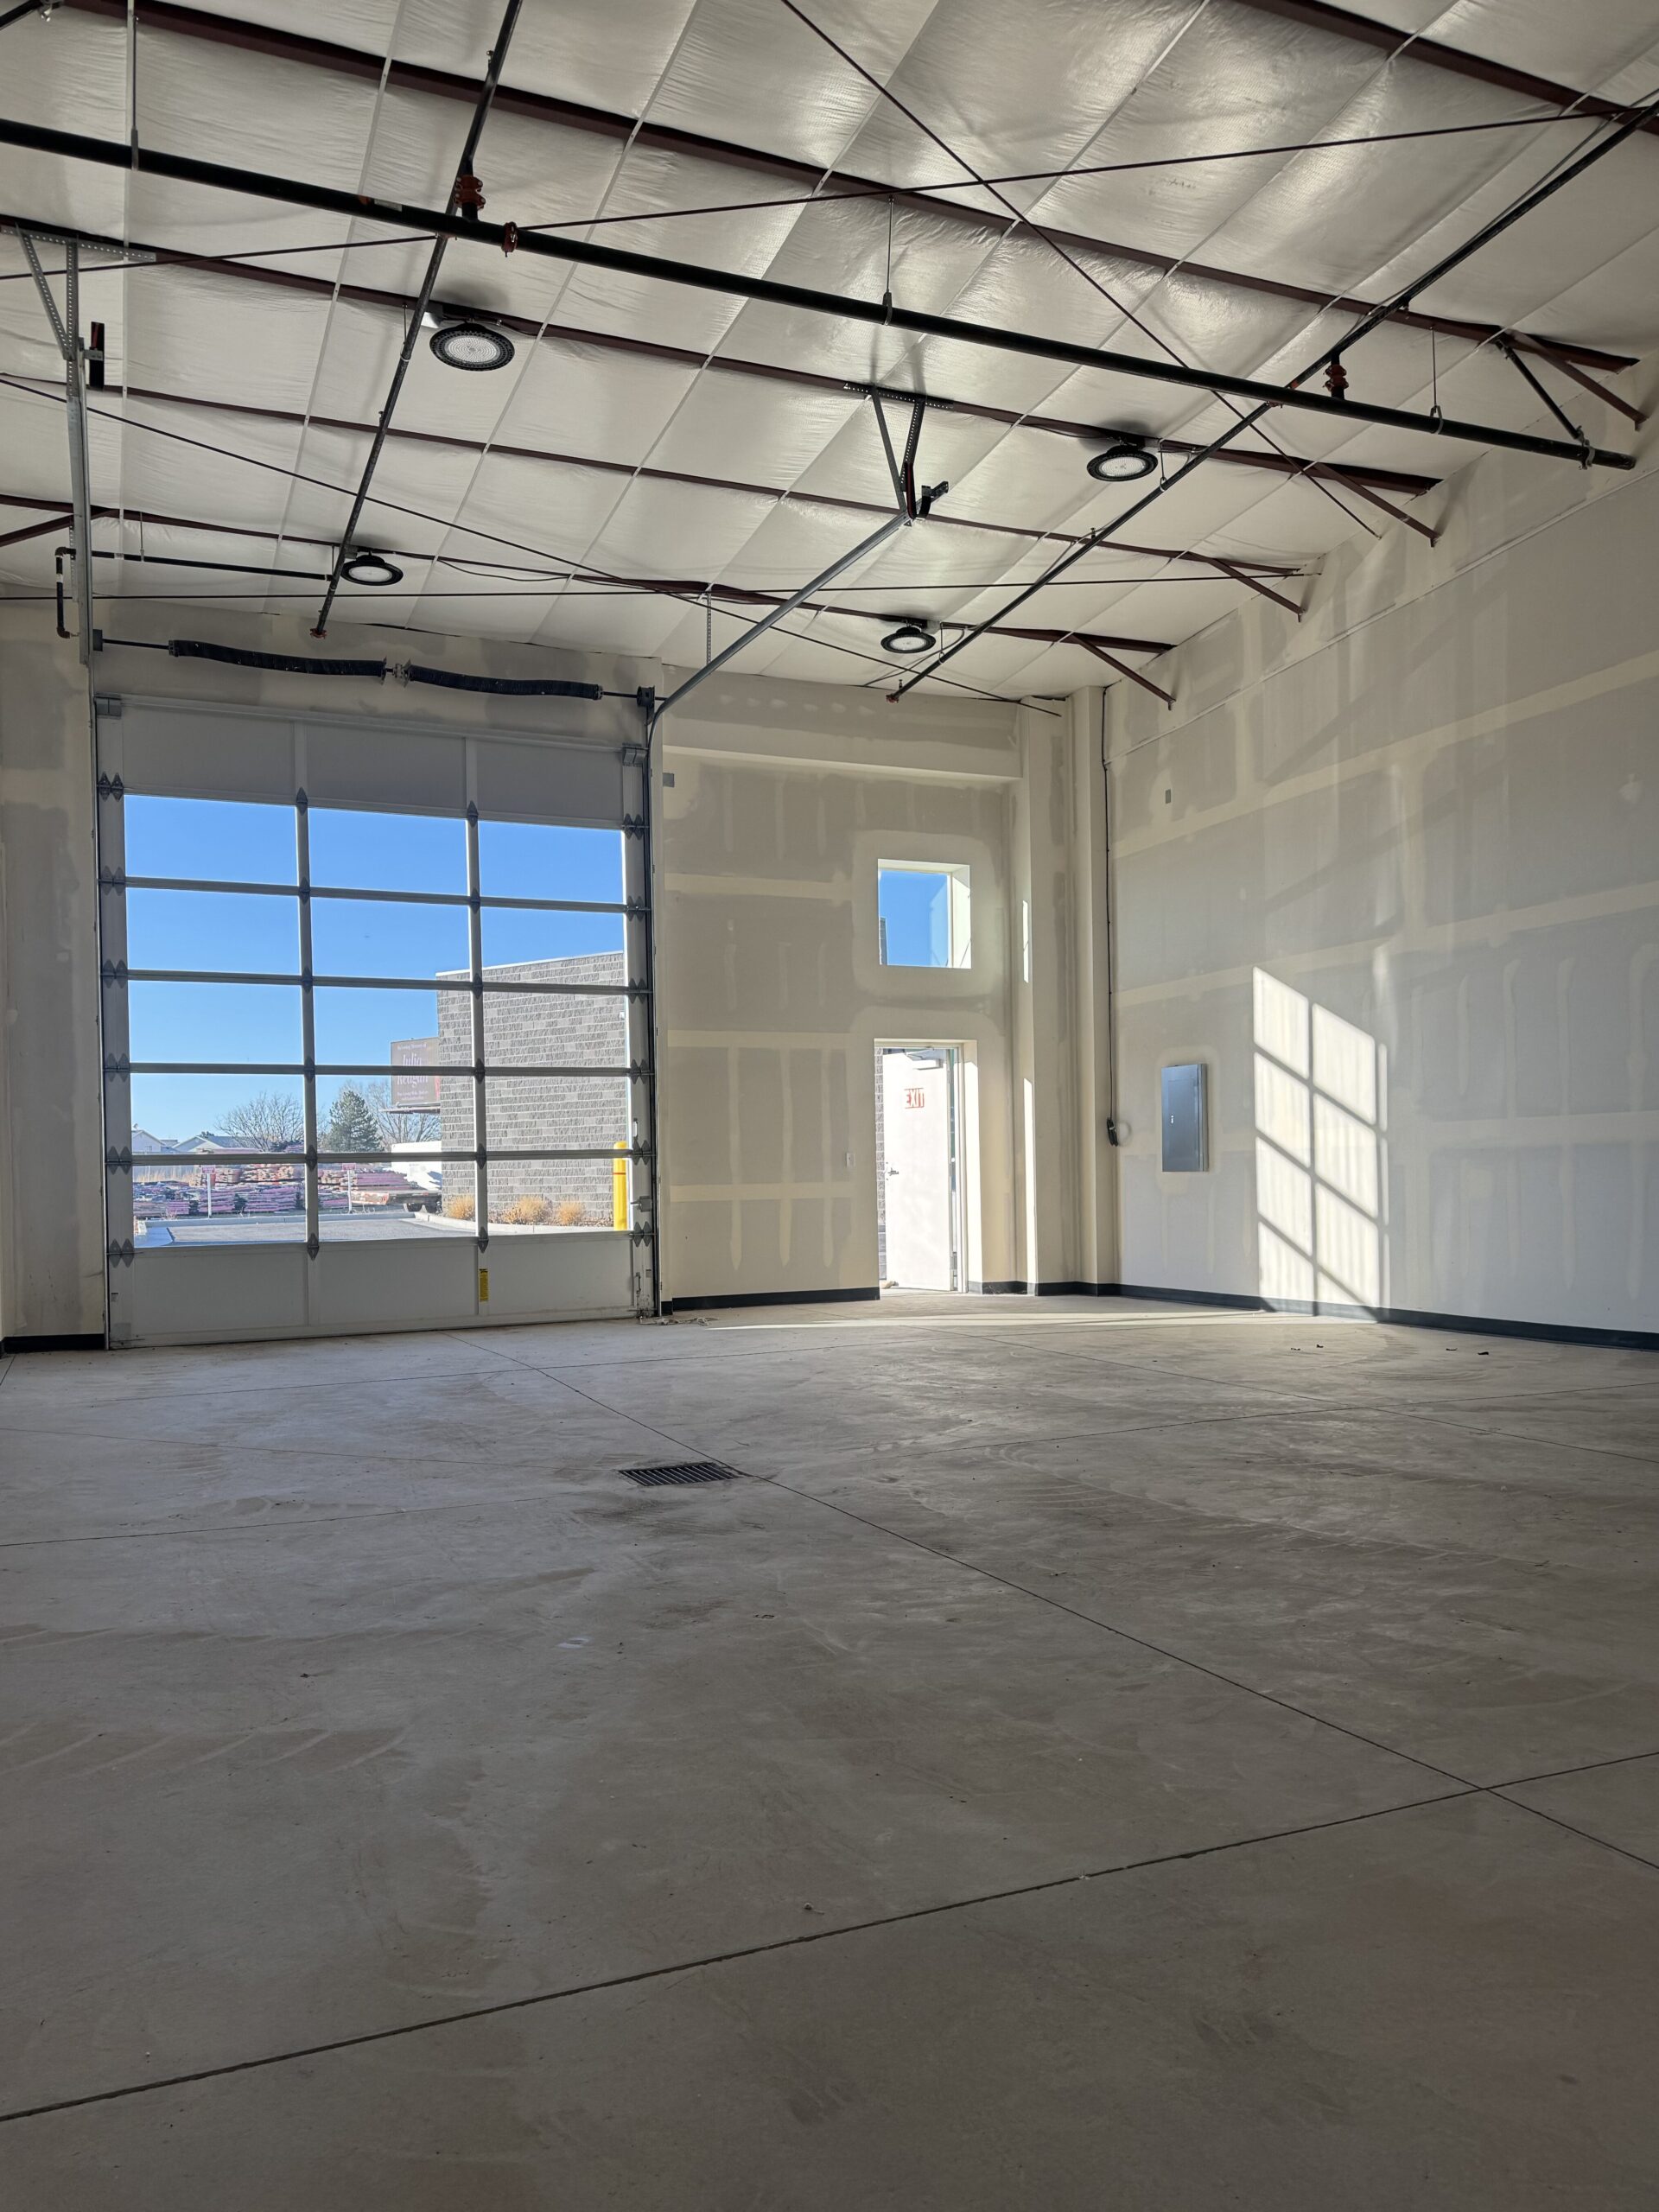
Step 1: Confirm Your WorkBay Space Meets Your Needs
Before move-in day, evaluate your operational requirements.
WorkBay industrial flex units are designed for versatility — but clarity around your business needs ensures you maximize the space.
Assess the Following:
- Square footage for current and projected growth
- Ceiling height for vertical storage
- Roll-up door access for receiving and shipping
- Electrical capacity for equipment
- Heating and ventilation needs
- Parking and accessibility
Your roll-up door isn’t just an entry point — it’s your logistics engine. Positioning your receiving area near this access point improves efficiency immediately.
Step 2: Pre-Move Inventory & Equipment Planning
Preparation reduces chaos.
Before your official move-in date:
- Conduct a full inventory count
- Remove obsolete or slow-moving inventory
- Order pallet racking and shelving
- Label inventory by zone
Pre-labeling pallets based on your future layout (Receiving, Storage, Packing, Shipping) will save hours of reorganizing later.
Step 3: Creating the Ultimate Layout in Your WorkBay Unit
Industry-Specific Layout Ideas for Maximum Efficiency
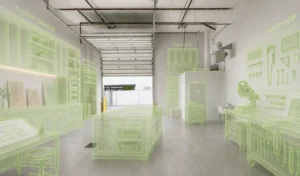
Designing your warehouse layout isn’t just about placing shelves — it’s about building a system that supports how your business operates every single day. At WorkBay, industrial flex units are intentionally versatile. That means your layout should reflect your workflow, equipment, and customer interaction needs. Below are optimized layout ideas based on different industries.
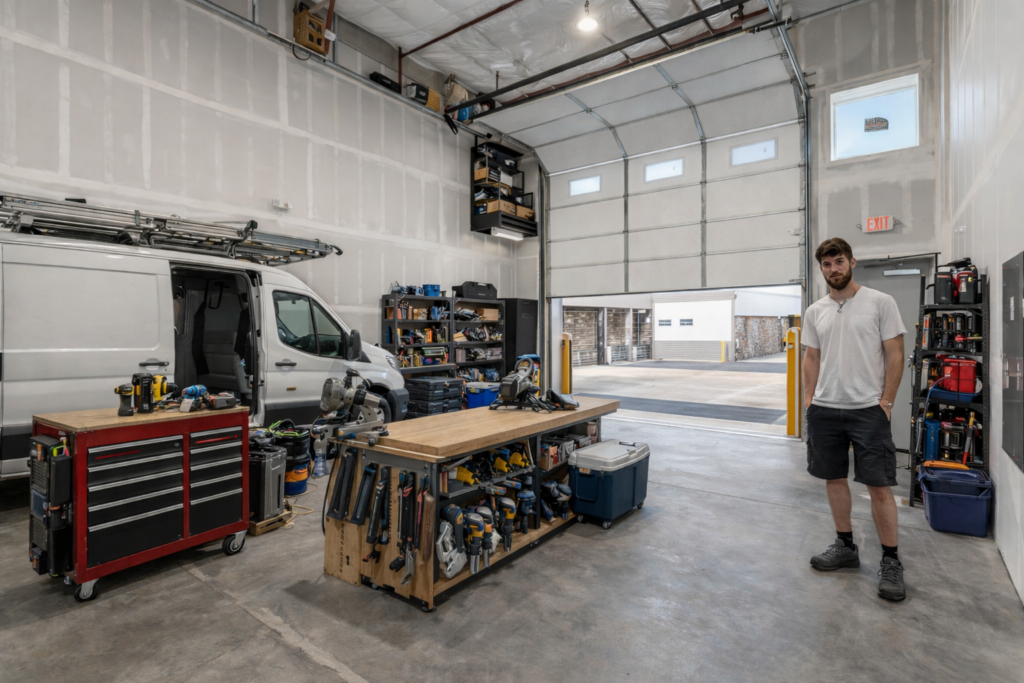
🔨 For Contractors & Skilled Trades (Plumbing, HVAC, Electrical, General Contractors)
Core Zones to Create:
- Tool & Equipment Storage
- Materials & Inventory
- Vehicle Staging Area
- Workbench / Fabrication Zone
- Office/Admin Space
Layout Strategy:
Near Roll-Up Door:
- Park work vans inside (if space allows)
- Quick-load shelving for high-frequency tools
- Palletized material storage for easy unloading
Mid-Space:
- Heavy-duty racking for bulk materials
- Secure tool cages
- Wall-mounted tool organization systems
Back or Corner:
- Dedicated workbench area
- Parts bins and hardware storage
- Compressor or specialty equipment
Pro Tip:
Keep daily-use materials closest to the roll-up door to reduce load-out time in the mornings.
Efficiency = faster dispatch.
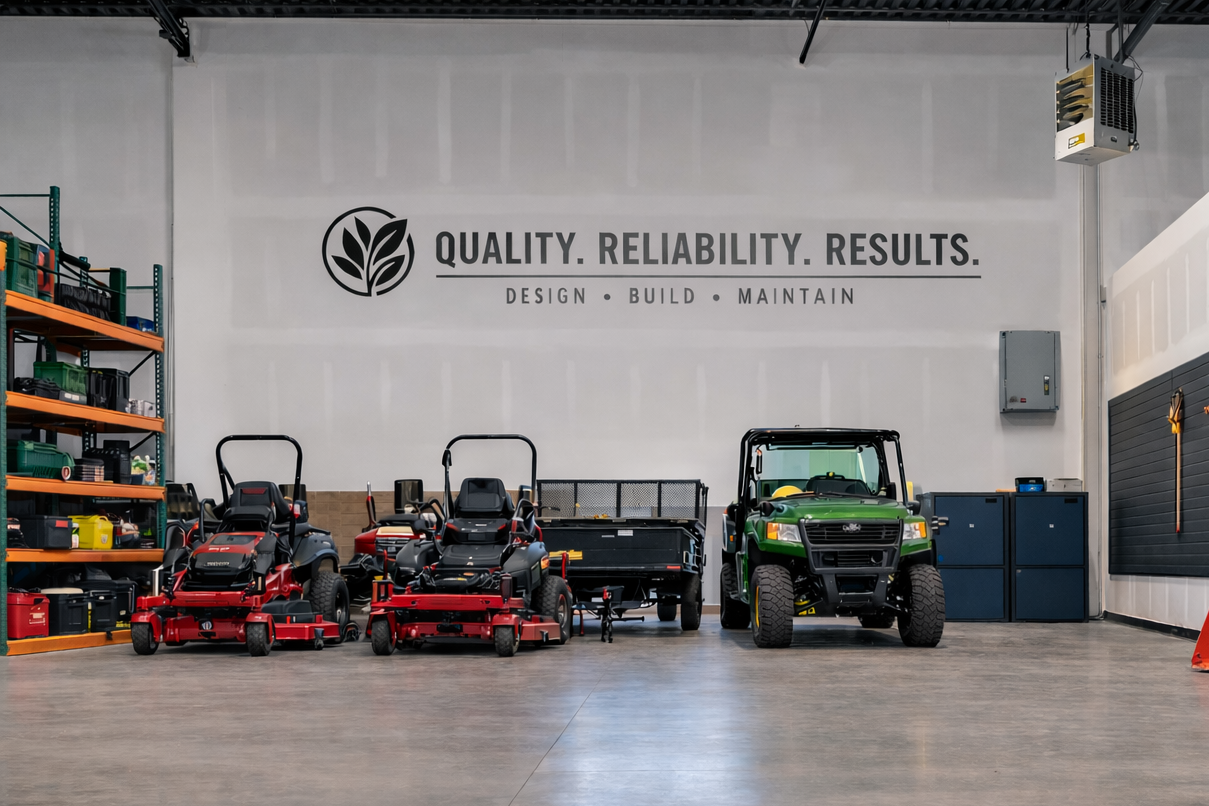
🚚 For Home Service Businesses (Landscaping, Cleaning, Pest Control, Mobile Services)
Core Zones:
- Chemical & Supply Storage
- Equipment Charging Station
- Vehicle Prep Area
- Admin/Dispatch Desk
Layout Strategy:
Front Zone (By Roll-Up Door):
- Clearly marked staging for each truck
- Rolling carts pre-stocked for crews
- Loading checklist station
Side Wall:
- Locked cabinets for chemicals
- Battery charging station for tools
- Hose, extension cord, and equipment racks
Small Admin Corner:
- Desk with visibility of the floor
- Whiteboard dispatch system
- Storage for paperwork and uniforms

📦 For E-Commerce & Fulfillment Businesses
Core Zones:
- Receiving
- Storage (Racking)
- Picking Area
- Packing Stations
- Shipping Zone
Layout Strategy:
Receiving (Directly Inside Roll-Up Door):
- Pallet drop zone
- Inventory inspection table
- Temporary staging area
Storage:
- High-demand SKUs on lower racks
- Slow-moving inventory higher up
- Clearly labeled aisles
Packing Stations (Near Shipping):
- Standardized setup
- Box sizes organized vertically
- Label printers mounted
Shipping:
- Outbound staging by roll-up door
- Daily shipment shelf
Pro Tip:
Cluster frequently bundled SKUs together to reduce pick time.
A 10-step pick route should feel like 3.
🛠 For Light Manufacturing or Fabrication
Core Zones:
- Raw Materials
- Production Area
- Assembly Line
- Quality Control
- Finished Goods Storage
Layout Strategy:
Follow a linear production flow:
Materials → Fabrication → Assembly → QC → Storage → Shipping
Keep machines spaced with proper safety clearance.
Use floor markings to define workflow direction.
Install heavy-duty shelving near fabrication for quick material access.
Pro Tip:
Avoid crossing production and shipping paths — it slows output and increases risk.

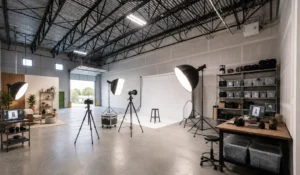
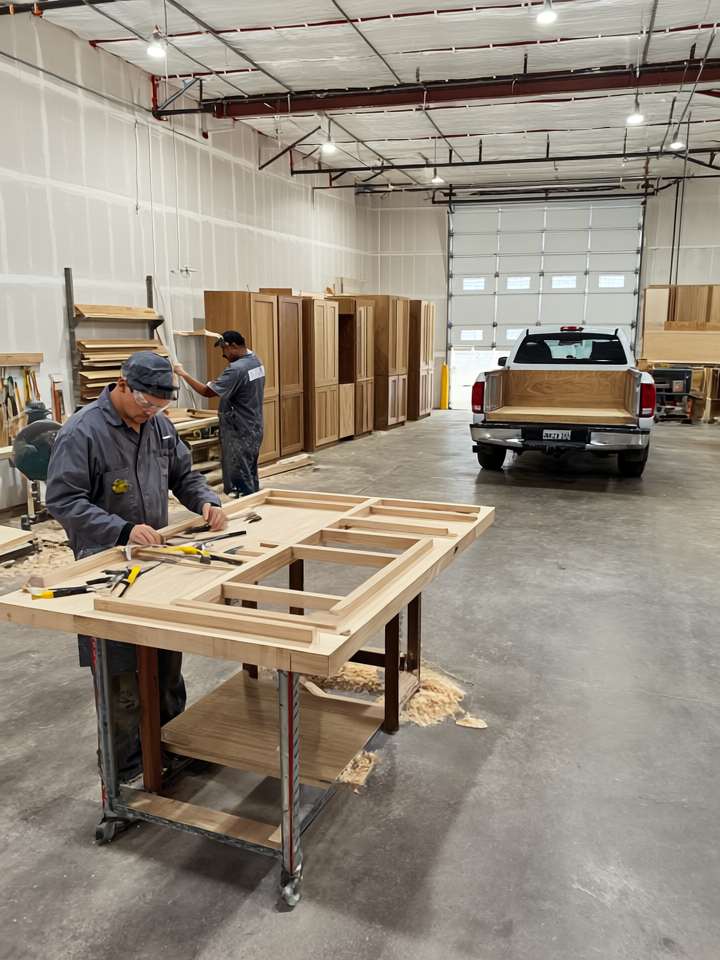
🎨 For Creative Businesses (Print Shops, Studios, Custom Builders)
Core Zones:
- Creative/Production Area
- Inventory Storage
- Equipment Wall
- Client Meeting Area (Optional)
- Shipping/Packaging
Layout Strategy:
Keep the creative workspace central and well-lit.
Mount large equipment against walls to maximize open floor space.
Design a small clean corner for client interactions or design work.
Keep packaging near the roll-up door for easy dispatch.
Pro Tip:
If clients visit your WorkBay unit, create a clean, clearly defined front zone that separates production from presentation.
Universal Layout Optimization Tips for Any Industry
Regardless of business type, these principles apply:
1️⃣ Follow Your Workflow
Design the space around movement — not aesthetics.
2️⃣ Maximize Vertical Space
Install racking early. Warehouses grow upward.
3️⃣ Keep Aisles Wide & Clear
Congested pathways kill productivity.
4️⃣ Use Floor Tape & Signage
Clearly define zones for staff.
5️⃣ Separate High-Traffic & Low-Traffic Areas
Place bulk storage away from daily activity zones.
6️⃣ Leave Room to Scale
Don’t fill every inch immediately. Growth needs breathing room.
Step 4: Optimize Workflow Immediately
Your warehouse should improve productivity — not complicate it.
Within the first week, test your workflow:
- Time picking and packing cycles
- Evaluate employee travel distance
- Identify congestion areas
- Adjust high-demand inventory placement
Even small layout refinements can dramatically increase output and reduce labor strain.
Step 5: Post-Move Evaluation & Continuous Improvement
A strong warehouse setup evolves with your business.
After 30 days in your WorkBay unit, evaluate:
- Order fulfillment speed
- Inventory accuracy
- Space utilization
- Operational bottlenecks
If you notice underutilized vertical space or traffic congestion, adjust early. The most efficient warehouses continuously improve.
Long-Term Organization Tips for WorkBay Tenants
To maintain efficiency:
- Label all racks and shelves clearly
- Implement standard operating procedures
- Schedule weekly organization resets
- Keep receiving and staging areas defined
- Track operational metrics consistently
Consistency is what turns a warehouse into a growth engine.
Set Up Your WorkBay Unit for Success
Moving into a WorkBay industrial flex unit isn’t just about securing space — it’s about creating a scalable operational foundation.
With the right warehouse move-in checklist, strategic layout planning, and ongoing optimization, your space becomes more than square footage. It becomes the backbone of your business growth.
If you’re preparing for your WorkBay move-in, use this guide as your roadmap — and set yourself up for a seamless start.